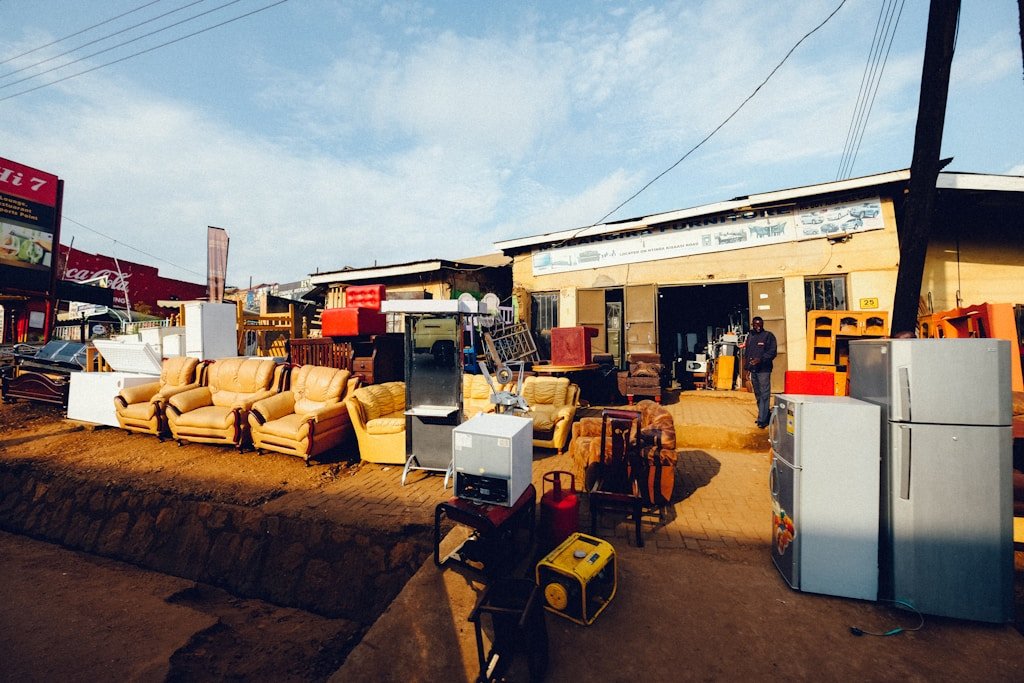
When a household appliance stops working correctly, it is easy to assume that a major component has failed. In many cases, however, the cause can be simpler: an incorrect setting, a power issue, a blocked filter, a drainage problem, or another condition that can be identified through basic troubleshooting.
Effective appliance troubleshooting starts with understanding the symptoms and checking the simplest possible causes before considering complex repairs or replacement parts.
This guide explains a practical approach to troubleshooting household appliances safely and systematically.
Why Proper Appliance Troubleshooting Matters
Replacing parts without identifying the actual cause can waste time and money. A component may appear to be the problem when another issue is actually preventing the appliance from operating correctly.
A good troubleshooting process helps you:
- Identify the symptoms clearly.
- Eliminate simple causes first.
- Avoid unnecessary part replacement.
- Recognize when a problem requires professional repair.
- Reduce the risk of damaging the appliance.
- Approach repairs more safely.
The goal is not always to repair the appliance yourself. Sometimes the most useful result of troubleshooting is knowing exactly when professional assistance is needed.
Start With the Symptoms
Before changing settings or removing any components, identify exactly what the appliance is doing.
Ask yourself:
- Does the appliance turn on?
- Does it start normally?
- Does it stop during operation?
- Does it complete the cycle?
- Is it making an unusual noise?
- Is it leaking?
- Is it heating or cooling correctly?
- Is an error code displayed?
- Did the problem appear suddenly?
- Has the appliance been moved, cleaned, overloaded, or recently serviced?
The symptoms provide the starting point for diagnosis.
For example, an appliance that has no power requires a different troubleshooting approach from one that turns on but does not perform its main function.
Check the Power Supply
For an appliance that does not turn on, start with the external power supply.
Check whether:
- The appliance is properly connected to the outlet.
- The outlet is working.
- A circuit breaker has tripped.
- A power switch has been turned off.
- The power cord shows visible damage.
Do not use an appliance with exposed wiring, a damaged power cord, scorch marks, sparks, or signs of electrical damage.
If the electrical supply appears normal but the appliance remains completely unresponsive, the problem may require further diagnosis.
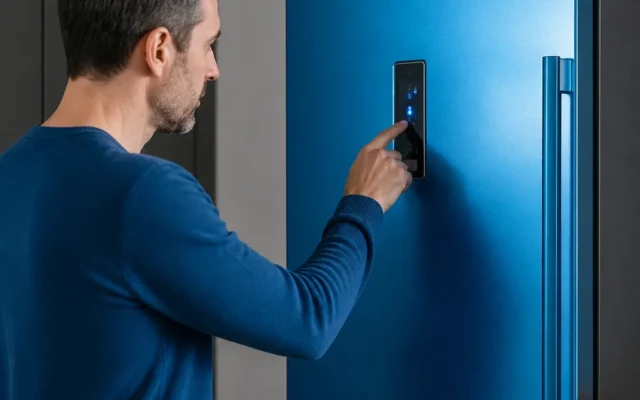
Check the Controls and Settings
Incorrect settings can sometimes make a working appliance appear to be defective.
Check the selected:
- Cycle
- Temperature
- Timer
- Operating mode
- Drying or washing option
- Child lock or control lock
Make sure the door or lid is properly closed when the appliance requires it before starting.
If you are unsure about a particular control, consult the manufacturer’s manual rather than guessing.
Check for Error Codes
Many modern appliances display error codes when they detect an abnormal condition.
If an error code appears:
- Record the exact code.
- Check the appliance manual.
- Consult the manufacturer’s documentation when available.
- Follow the recommended basic troubleshooting steps.
- Check whether the code returns after the recommended reset or procedure.
An error code should not automatically be treated as proof that a particular component needs replacement. It may identify a condition detected by the appliance rather than the exact failed part.
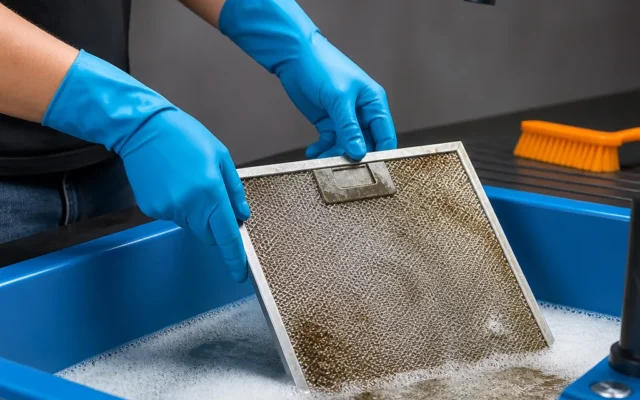
Inspect Accessible Filters, Vents, and Drains
Blocked airflow and drainage are common sources of appliance problems.
Depending on the appliance, inspect user-accessible areas such as:
- Lint filters
- Drain filters
- Drain hoses
- Air vents
- Refrigerator vents
- Dishwasher filters
- Water inlet screens
Clean or inspect these components according to the manufacturer’s instructions.
Do not remove covers or internal components simply to investigate a problem unless the manufacturer specifically identifies them as user-serviceable.
Consider What Changed
A useful troubleshooting question is:
What changed before the problem started?
Think about whether:
- The appliance was moved.
- A new setting was selected.
- A power outage occurred.
- A hose was disconnected.
- The appliance was cleaned.
- A large or unusual load was used.
- A new noise appeared.
- A maintenance task was recently performed.
A recent change can help narrow down the possible causes.
Resetting an Appliance
Some appliances can experience temporary control or electronic problems that may be resolved by following the manufacturer’s reset procedure.
A reset can be useful when:
- The controls become unresponsive.
- A temporary error appears.
- The appliance stops unexpectedly.
- The manufacturer recommends resetting it.
However, a reset is not a substitute for diagnosis.
If the same problem returns repeatedly, there may be an underlying issue that needs further investigation.
Always follow the manufacturer’s instructions for resetting the specific appliance.
Use a Step-by-Step Troubleshooting Process
A consistent process can make troubleshooting easier.
Step 1: Identify the symptom
Describe exactly what is happening.
Step 2: Determine when it happens
Does the problem occur when starting, during operation, or near the end of a cycle?
Step 3: Check simple causes
Look at power, settings, doors, filters, vents, hoses, and other accessible areas.
Step 4: Check for error codes
Record any displayed code and consult reliable documentation.
Step 5: Test one change at a time
Avoid changing several things simultaneously. Testing one possible cause at a time makes it easier to determine what actually affected the problem.
Step 6: Observe the result
Determine whether the symptom disappeared, changed, or remained the same.
Step 7: Decide on the next step
If basic troubleshooting does not resolve the problem, determine whether further diagnosis or professional repair is appropriate.
Troubleshooting Different Appliance Categories
The general troubleshooting process applies to many appliances, but each category has different common problems and safety considerations.
Refrigerators and Freezers
Common symptoms include:
- Not cooling properly
- Excessive frost
- Water leaking
- Unusual noises
- Running continuously
- Uneven temperatures
Basic checks may include temperature settings, door closure, airflow, and accessible vents.
Washing Machines
Common symptoms include:
- Not starting
- Not filling
- Not draining
- Not spinning
- Excessive vibration
- Leaking
Check the selected cycle, door or lid, water supply, drain system, and load before considering internal repairs.
Dryers
Common problems include:
- Not starting
- Not heating
- Taking too long to dry
- Overheating
- Unusual noises
The lint filter and accessible airflow path should be kept clean according to the manufacturer’s instructions.
Dishwashers
Common symptoms include:
- Not starting
- Not filling
- Not draining
- Poor cleaning
- Standing water
- Leaking
Accessible filters, spray arms, drainage, and water supply are useful areas to check first.
Ovens and Ranges
Common problems include:
- Not heating
- Uneven heating
- Incorrect temperature
- Burner problems
- Display issues
- Door problems
Gas appliances require additional safety precautions, and gas-related problems should be handled by qualified professionals.
Microwaves
Microwaves require special caution because some internal components can retain dangerous electrical energy even after the appliance has been unplugged.
Basic external checks may be appropriate, but internal microwave repairs should generally be left to qualified professionals.
Appliance Safety Comes First
Troubleshooting should never expose you or your home to unnecessary risk.
Stop troubleshooting and seek professional assistance if you encounter:
- Smoke
- Sparks
- Burning smells
- Exposed wiring
- Damaged electrical components
- Gas smells
- Significant water leakage
- Severe overheating
- Dangerous internal components
Never attempt to repair a gas system unless you have the required qualifications and equipment.
Similarly, do not open sealed or high-voltage components simply to identify a problem.
When Should You Stop Troubleshooting?
Knowing when to stop is an important part of appliance repair.
Basic DIY troubleshooting may be appropriate for simple issues such as:
- Incorrect settings
- Tripped breakers
- Blocked accessible filters
- Simple drainage restrictions
- Incorrect loading
- Manufacturer-recommended resets
Professional assistance is more appropriate when the problem involves:
- Internal electrical components
- Gas connections
- Refrigerant systems
- Damaged wiring
- Sealed systems
- Major mechanical components
- Specialized diagnostic equipment
A successful troubleshooting process does not necessarily end with a DIY repair. Sometimes it ends with a clear diagnosis and a decision to call a professional.
How to Prepare for Professional Repair
If you need a technician, collect as much useful information as possible.
Have the following available:
- Appliance brand
- Model number
- Serial number, if available
- Exact symptoms
- Error codes
- When the problem started
- Any unusual sounds or smells
- Troubleshooting steps already performed
A clear description can help the technician understand the problem before arriving.
Preventive Appliance Maintenance
Good maintenance can reduce the likelihood of unexpected problems.
Depending on the appliance, regular maintenance may include:
- Cleaning filters
- Keeping vents clear
- Checking hoses
- Cleaning accessible components
- Checking door seals
- Avoiding excessive loads
- Keeping the appliance level when required
- Following the manufacturer’s maintenance schedule
If an appliance begins making an unusual noise or its performance changes, investigating the symptom early may help prevent a more serious failure.
How FixApplianceGuide Approaches Troubleshooting
At FixApplianceGuide, troubleshooting starts with diagnosis before replacement.
Our approach is based on a simple process:
Symptom → Possible causes → Safe checks → Diagnosis → Next step
This means that a replacement part should not be the first assumption.
The objective is to understand what the appliance is doing, eliminate simple causes, identify what can safely be checked, and determine whether further repair is appropriate.
Our detailed appliance guides build on this approach by focusing on the specific symptoms and components associated with different types of appliances.
Explore More Appliance Troubleshooting Guides
For more specific problems, explore guides covering:
- Refrigerator troubleshooting
- Washing machine troubleshooting
- Dryer troubleshooting
- Dishwasher troubleshooting
- Oven and range troubleshooting
- Microwave troubleshooting
- Freezer troubleshooting
- Common appliance error codes
Each appliance has its own components and failure patterns, so a general troubleshooting process should be followed by appliance-specific diagnosis when necessary.
Final Thoughts
Troubleshooting an appliance should begin with understanding the symptom, not replacing a part.
Start with the simplest possibilities: power, settings, error codes, accessible filters, vents, drains, and other user-serviceable areas. Test one possible cause at a time and observe what changes.
Most importantly, recognize when a problem involves electrical, gas, refrigerant, or other hazards that require professional attention.
The purpose of troubleshooting is not to repair every appliance yourself. It is to determine what is happening, what can be safely checked, and what the most sensible next step should be.